macOS Sierra upgrade from USB-stick
Friday, October 14. 2016
This is the abridged version as most steps are exactly like in OS X El Capitan. See my article about that.
Step 1: Go download
As any upgrade, go to App Store, it should look like this:
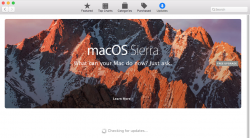
Beware, it is quite a chunk (almost 5 GiB to be exact). If your Internet connection isn't too fast, be prepared to wait a while:
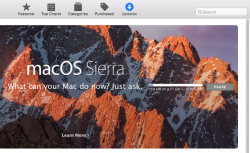
When the download is done, the installer will start automatically. It will look like this:
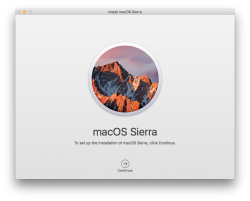
That's your cue. Do not proceed with the installation, but quit the installer instead:
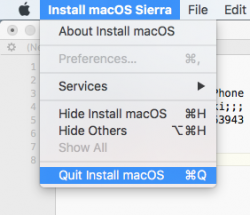
Now all the necessary files are on your machine.
Step 2: Go USB
The recipe is classic, insert an USB-stick of suitable size, unmount it, prepare it for install, copy installation files to it and you're done!
Unmount (your volume name will differ, unless the stick had an Arch Linux installation in it):
sudo diskutil umount /Volumes/ARCH_201607/
Pay attention to the output, it will give a clue about the device identifier of your USB-stick on your machine it can and will vary. My output was:
Volume ARCH_201607 on disk3s1 unmounted
Now that we know which disk it was, partition and format the stick as JHFS+:
sudo diskutil partitionDisk /dev/disk3 1 GPT jhfs+ "MacOS Sierra" 0b
It will take a while and during operation it will say something like this:
Started partitioning on disk3

Unmounting disk

Creating the partition map

Waiting for the disks to reappear

Formatting disk3s2 as Mac OS Extended (Journaled) with name MacOS Sierra

Initialized /dev/rdisk3s2 as a 7 GB case-insensitive HFS Plus volume with a 8192k journal

Mounting disk

Finished partitioning on disk3

/dev/disk3 (external, physical):

#:                  TYPE NAME        SIZE    IDENTIFIER

0: GUID_partition_scheme             *8.0 GB disk3

1:                   EFI EFI        209.7 MB disk3s1

2:             Apple_HFS MacOS Sierra 7.7 GB disk3s2
Now the stick is good to go, transfer the installation image into it:
cd /Applications/Install\ macOS\ Sierra.app/Contents/Resources/


sudo ./createinstallmedia \

   --volume /Volumes/MacOS\ Sierra/ \

   --applicationpath /Applications/Install\ macOS\ Sierra.app/ \

   --nointeraction
Again, that will take a while and output something like:
Erasing Disk: 0%... 10%... 20%... 30%...100%...

Copying installer files to disk...

Copy complete.

Making disk bootable...

Copying boot files...

Copy complete.

Done.
That's it. The stick is ready.
Step 3: Go update
This is the part, that you'll be repeating on each newly upgraded/installed machine.
Follow the installation procedure and boot to the newly installed macOS. If this doesn't make any sense to you, see my previous article about that.
Step 4: Finishing touches
After boot, you'll end up in a classic login-screen. Login and upgrade will continue there.
My choices for those new questions are:
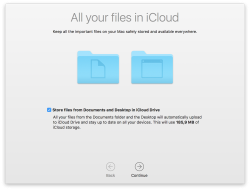
- no, absolutely not I won't be storing my data into iCloud, I have the freebie 5 GiB of space there and with my files I'd run out pretty soon
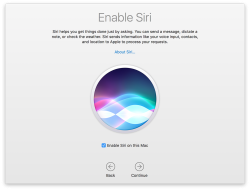
- no, absolutely not I won't be enabling Siri (aka. spy-machine)
Step 5: Done!
That's it, enjoy your upgraded operating system.
Couple of glitches here and there, but the most important one was that my SSH didn't do agent forwarding anymore. I'm not alone with that, other people reported same issue:
ssh -A stopped working in macOS Sierra and keychain is not unlocked at login
The second thing is, that MD5 signed root certificates aren't accepted anymore as default. Unless you're doing some weird shit like I, you won't notice this change. This is fully documented and know before. In optimal world we wouldn't have any MD5 signed root certificates anymore.
Other than those two, I continued using my macs as usual.
